DIY Solar Camping Shelter: Step-by-Step Guide
Key Takeaways
- Understand the essential materials required for building a solar camping shelter.
- Learn about the assembly process for creating a durable shelter.
- Get tips on how to set up solar panels for maximum efficiency.
- Discover maintenance strategies to enhance the longevity of your camping gear.
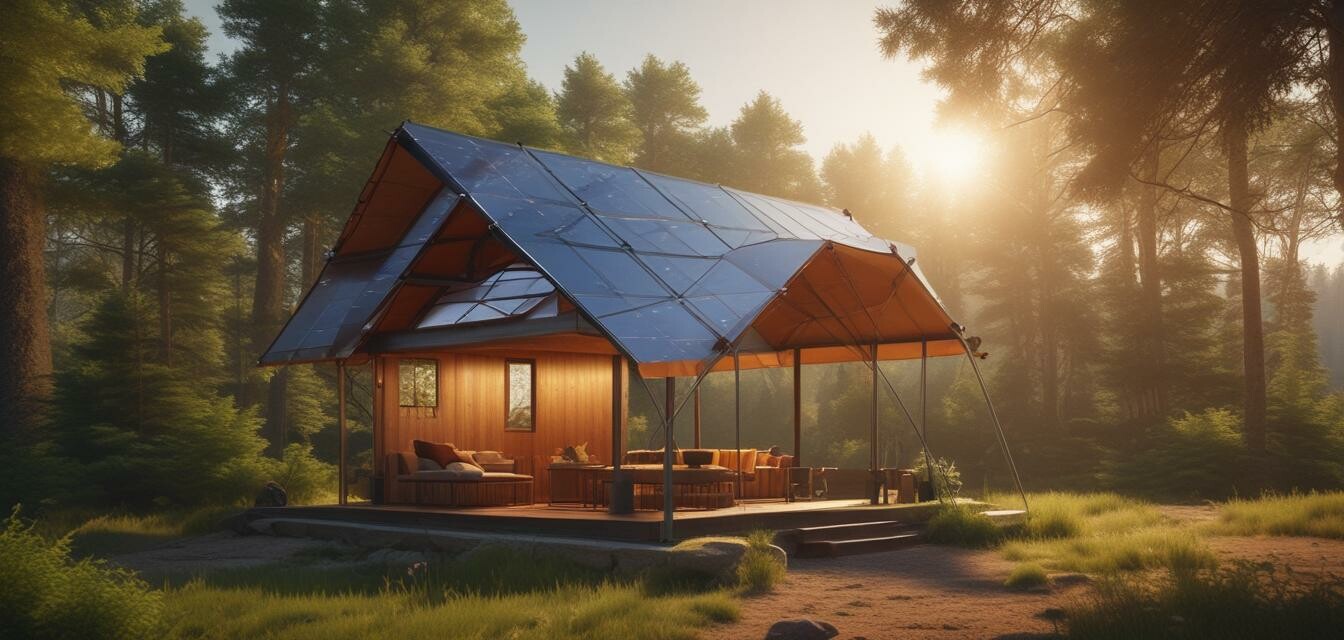
Planning your next camping adventure? A solar camping shelter could be your best bet for staying comfortable and powered up while enjoying the great outdoors. In this guide, we will help you understand the materials needed, the assembly procedure, and tips for integrating solar energy into your shelter. Let’s get started!
Materials Needed for Your Solar Camping Shelter
To build your very own solar camping shelter, you will need a combination of structural materials and solar equipment. Below is a comprehensive list of what you'll require:
| Material | Description |
|---|---|
| Tarps or tent fabric | Weather-resistant fabric that will form the shelter. |
| Poles | Lightweight, sturdy poles for support (aluminum or PVC). |
| Rope or cord | To secure the structure and provide stability. |
| Solar panels | To generate power for charging devices and lighting. |
| Battery pack | To store energy produced by the solar panels. |
| LED lights | Energy-efficient lighting for the shelter. |
Step-by-Step Assembly Process
Now that you have your materials ready, it's time to assemble your shelter. Follow these simple steps:
- Choose the location: Find a flat area away from strong winds and potential hazards.
- Set up the poles: Insert the poles into the ground to create a frame for your shelter.
- Attach the tarp: Drape your tarp or tent fabric over the poles and secure it tightly.
- Secure the structure: Use rope to tie the tarp firmly to the poles and the ground, ensuring stability.
- Install solar panels: Position your solar panels on a flat surface or attach them to the top of your shelter to catch sunlight.
- Connect the battery pack: Link your solar panels to a battery pack to store energy. Ensure all connections are secure.
- Add lighting: Install LED lights inside the shelter for illumination during the night.
Setting Up Your Solar Panels for Maximum Efficiency
The positioning of your solar panels is crucial for maximizing solar energy capture. Here are some tips for optimal setup:
- Place the panels in direct sunlight; avoid shaded areas throughout the day.
- Adjust the angle of the panels to face the sun directly, ideally at a tilt for better absorption.
- Regularly clean the surface of the panels to remove dust and debris that can obstruct sunlight.
Maintaining Your Solar Camping Shelter
Maintaining your solar camping shelter will help ensure it lasts for many camping trips to come. Here are some maintenance tips:
Tips for maintenance
- Inspect the shelter regularly for wear and tear, especially after use.
- Store the solar panels and battery pack in a cool, dry place when not in use.
- Check connections and wiring to ensure everything functions properly.
- Repair any damage to the tarp or fabric promptly to prevent leaks.
Conclusion
Creating your own solar camping shelter not only enhances your camping experience but also promotes sustainability. With the right materials and care, you'll have a reliable outdoor space equipped with renewable energy. If you are interested in other camping gear that complements your solar-powered adventure, check out our other pages like Portable Solar Panels, Solar Camping Tents, and Solar Cookers & Grills.
Pros
- Eco-friendly energy solution for camping.
- Increased comfort with electricity for devices.
- Ability to power lights and recharging stations.
Cons
- Initial setup might require time and effort.
- Cost of solar equipment can be high.
- Dependent on weather conditions for solar efficiency.